CADpass client secure connection (will be referred to as CADpass client or CADpass in this document) is a utility provided by CMC Microsystems that creates a secure connection between client PC’s, workstations, and computer sessions, and the CMC managed infrastructure.
This quick start guide provides instructions for installing NI LabVIEW on a Windows system using CMC Microsystems’ CADpass to access shared licenses on the CMC License Management System (LMS).
Prerequisites
You must meet the following criteria before installing NI LabVIEW:
- Students must register with CMC at https://account.cmc.ca/MyAccount/MyAccount.aspx
- Faculty supervisors can subscribe through the CMC subscription page at https://www.cmc.ca/subscriptions/
- You must have administrator rights for the computer on which you are installing this software
- You must have a unique login name (LINUX or Windows) that does not contain a blank space. The following are examples of unacceptable login names: admin or administrator, root, super, sysadmin, user, owner, student, guest, temp, and system.
System Requirements
Hardware Requirements
- At least 4 GB of RAM is recommended, 10 GB of disk space
Software Requirements
- OS requirements are Window 10, 8.1, 8, 7
- For detailed requirements, refer to the following: https://www.ni.com/en-ca/support/documentation/supplemental/17/system-requirements-for-labview-development-systems-and-modules.html
Setting up CADpass client for Use with NI LabVIEW
CADpass client is a CMC Microsystems’ license access client and is used by subscribers across Canada to connect to our secure license server(s).
- Follow the instructions in the quick start guide to download and install CADpass client.
- Start CADpass client and then log in using your CMC Microsystems Username and Password.
- When the CAD access window appears, double-click NI LabVIEW Design Tool.
A red checkmark appears next to the entry, as shown in Figure 1. Leave this checked while you are using the software.
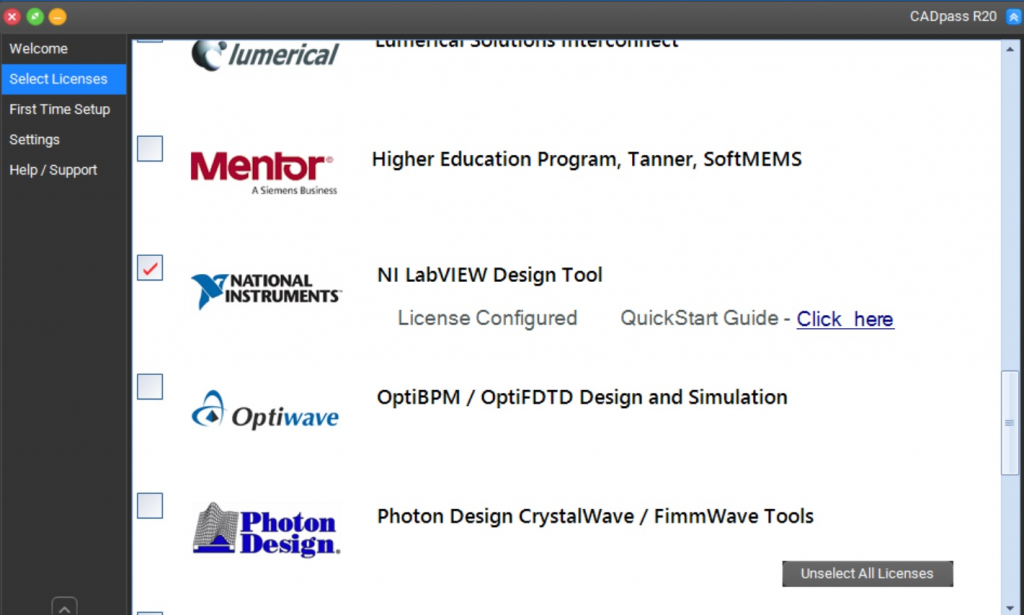
Figure 1: The NI LabVIEW Selection in CADpass client
Obtaining the Software
- Download NI software platform bundle installer: https://www.ni.com/en-ca/support/downloads/software-products/download.software-platform-bundle.html#345663
- Select the newest version of the tool available to download.
This downloads the NI Package installer. These instructions use version LabVIEW 2019 SP1. The installation instructions for other versions are the same. The NI package installer for 2019 SP1 is ni-software-platform-bundle_19.1_suite_online_repack2.exe.
Note: You may be prompted to log in to your NI user account to download. If you don’t have an account, you can create one. The size of the installer is about 5.46 MB.
Installing the Software
To install the tool:
- Click the executable NI package installer.
- Select the software tool and features that you want to install (Figure 2).
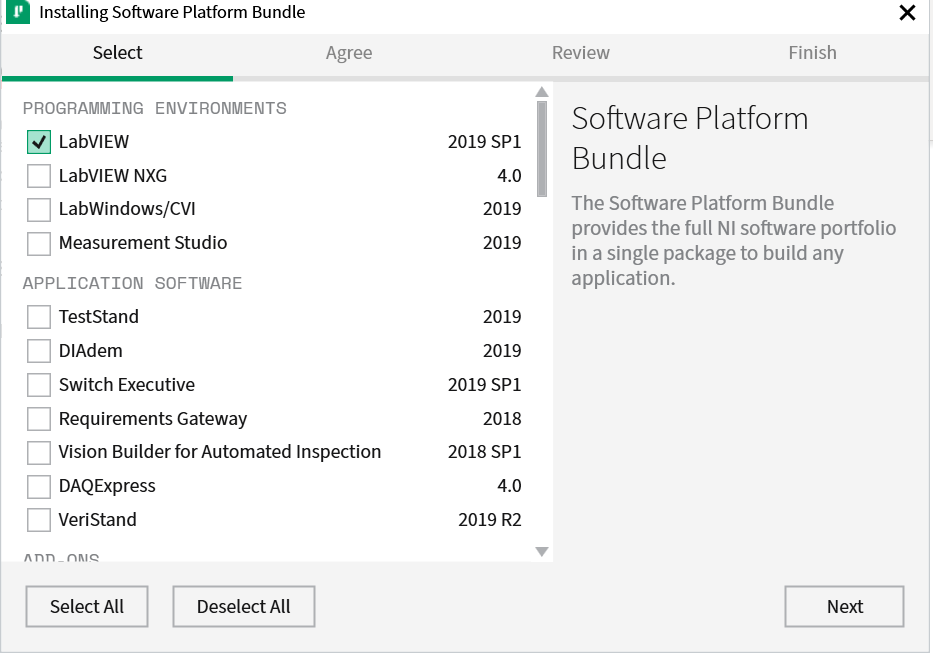
Figure 2: Select Software in the NI Package Installer
- Accept the license agreements.
- Finish the rest of the installation (Figure 3).
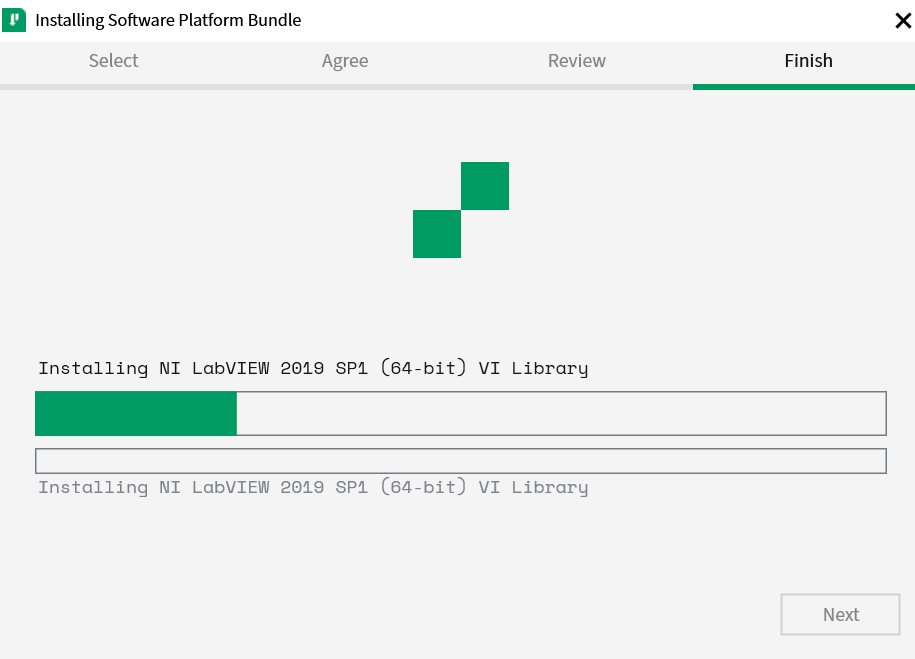
Figure 3: NI Software Installation
- After the installation is finished, you need to re-boot the computer to complete installation.
Note: If you are prompted to activate the 7-day trial license, you can just close the window. - After computer is re-booted, run CADpass client and make sure that the license server is connected. When you start the LabVIEW tool, the license should be displayed as LabVIEW Professional Development System (Figure 4).
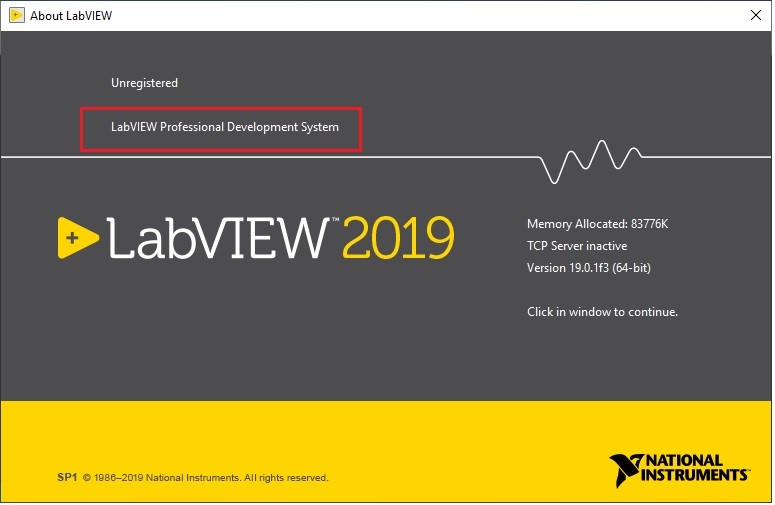
Figure 4: LabVIEW With Academic Site License
Mac Version LabVIEW Installation
You can download the Mac version of the tool from the NI website: https://www.ni.com/en-ca/support/downloads/software-products/download.labview.html#344891
It is full product download and not a package installer, but the installation steps should be similar to what is described here. If you have any issues, you can contact CMC.
